# Ubuntu Touch
Authors: Mark from UBports RPi fluffychat channel
Contact: info@ubports.com
Category: #OS
Where to get it: ubports-roofts-rpi
How to install and help to test!
I've used Raspian on the Raspberry Pi 4 to prepare the image. More or less the same procedure will work with most Linux desktop distributions. Feel free to use whatever software you are used to or you prefer. I've previously used Ubuntu 18:04 on an old desktop computer. It is also possible from Microsoft Windows or Macs – I have neither but if anyone wants to add instructions for them please do so.
Requirements
Raspberry Pi 3B+ and a good power supply, Micro SD card (8-32GB), card reader in desktop or laptop computer (or a Raspberry Pi running Linux), USB keyboard and mouse, HDMI monitor/TV and cable, Ethernet connection and cable.
Get and extract the Ubuntu Touch (UT) image
On your computer look for the latest image on https://ci.ubports.com/job/rootfs/job/rootfs-rpi/
Once you have opened the website in a browser click on ubuntu-touch-raspberrypi.img.xz and save the file on your computer. I saved it in Downloads.
Note: If using SD Card Copier on the Raspberry Pi or Gnome Discs you do not have to unzip the file first so the next bit is out of date now. I'll post clearer instructions and update the screenshots soon.
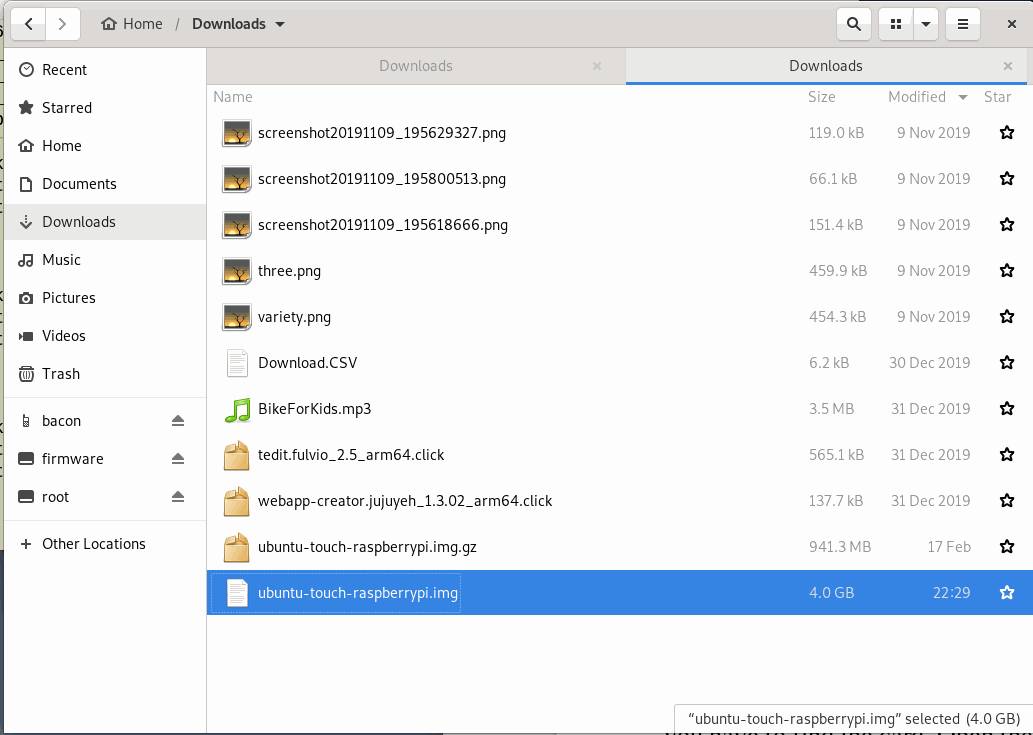
The image is compressed so needs to be unzipped. You should be able to do that in your file manager. Navigate to the Downloads folder (or whichever folder you used), identify the file, right click on it and choose extract from the options. It will take a little time to extract the 4GB image.
Write image to SD card
$ sudo fdisk -l

/dev/sda was the 32GB card. To write the image to the card simply change directory to where you saved the file (in my case typing $ cd Downloads in the terminal got me there) then, still in the terminal, type in:$ sudo dd bs=4M if=ubuntu-touch-raspberrypi.img of=/dev/sda conv=fsync
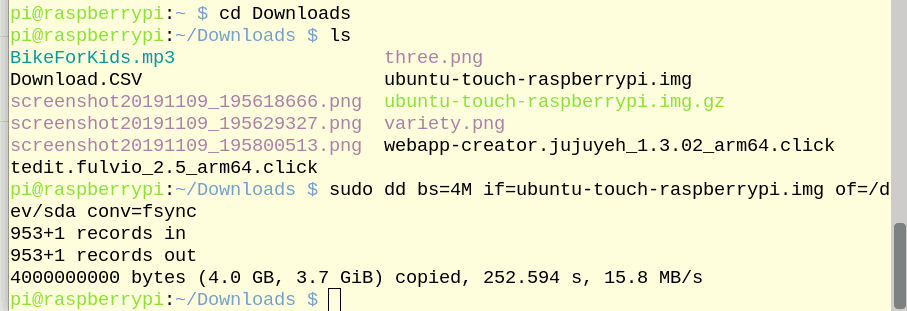
/dev/sda with the correct path to your SD card.
unmount Then select the main (largest) partition and choose the Resize/Moveoption. Drag the right of the partition to the far right hand side leaving zero free space before and after it.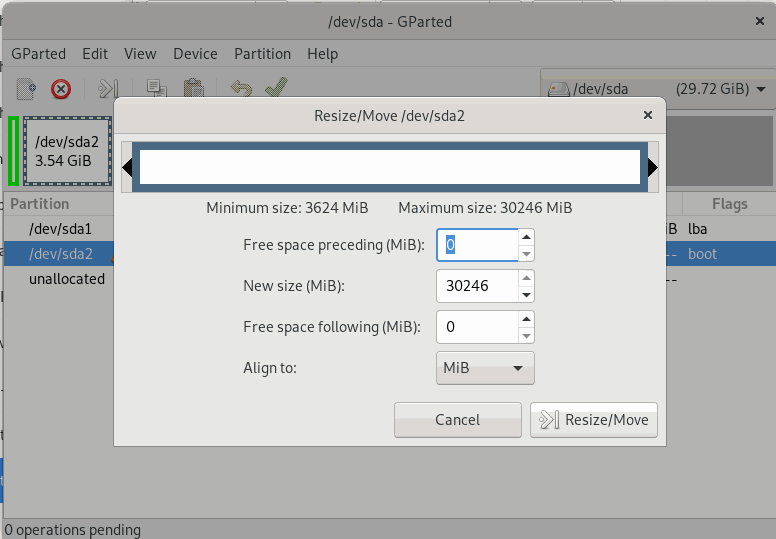
Apply all operations and click Apply. Once that is finished the card should be ready for the Raspberry Pi. Close Gparted then safely remove the card.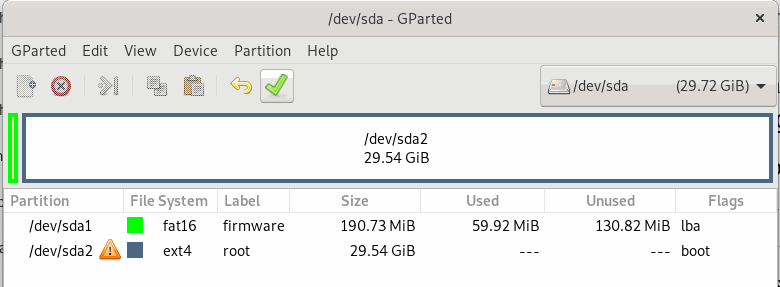
area screen should appear. Select your language and click next.You might be lucky, as simply moving the mouse over the selection then clicking usually works. If it doesn't don't worry there are little 'tricks' that can help. When the mouse pointer seems trapped within an invisible rectangle on the screen moving it around in increasing circles for a few seconds will free it. Most things can be selected by using tab and return on the keyboard. If you are having trouble selecting a particular area with the mouse, moving the cursor backwards and forwards horizontally a couple of times before selecting usually works (for some selections it needs to be moved vertically - trial and error will teach you what works where). It tends to want to select the previous selected area if you don't do the horizontal or vertical movements first and sometimes you need to click a couple of times to get it selected.
keyboard language and click next. Under Time zone type in your nearest big city then select and click next. If you do not have a working internet connection you may get stuck here. Lastly type in a preferred name. You should now get the UT Welcome screen and can select Get Started to enter.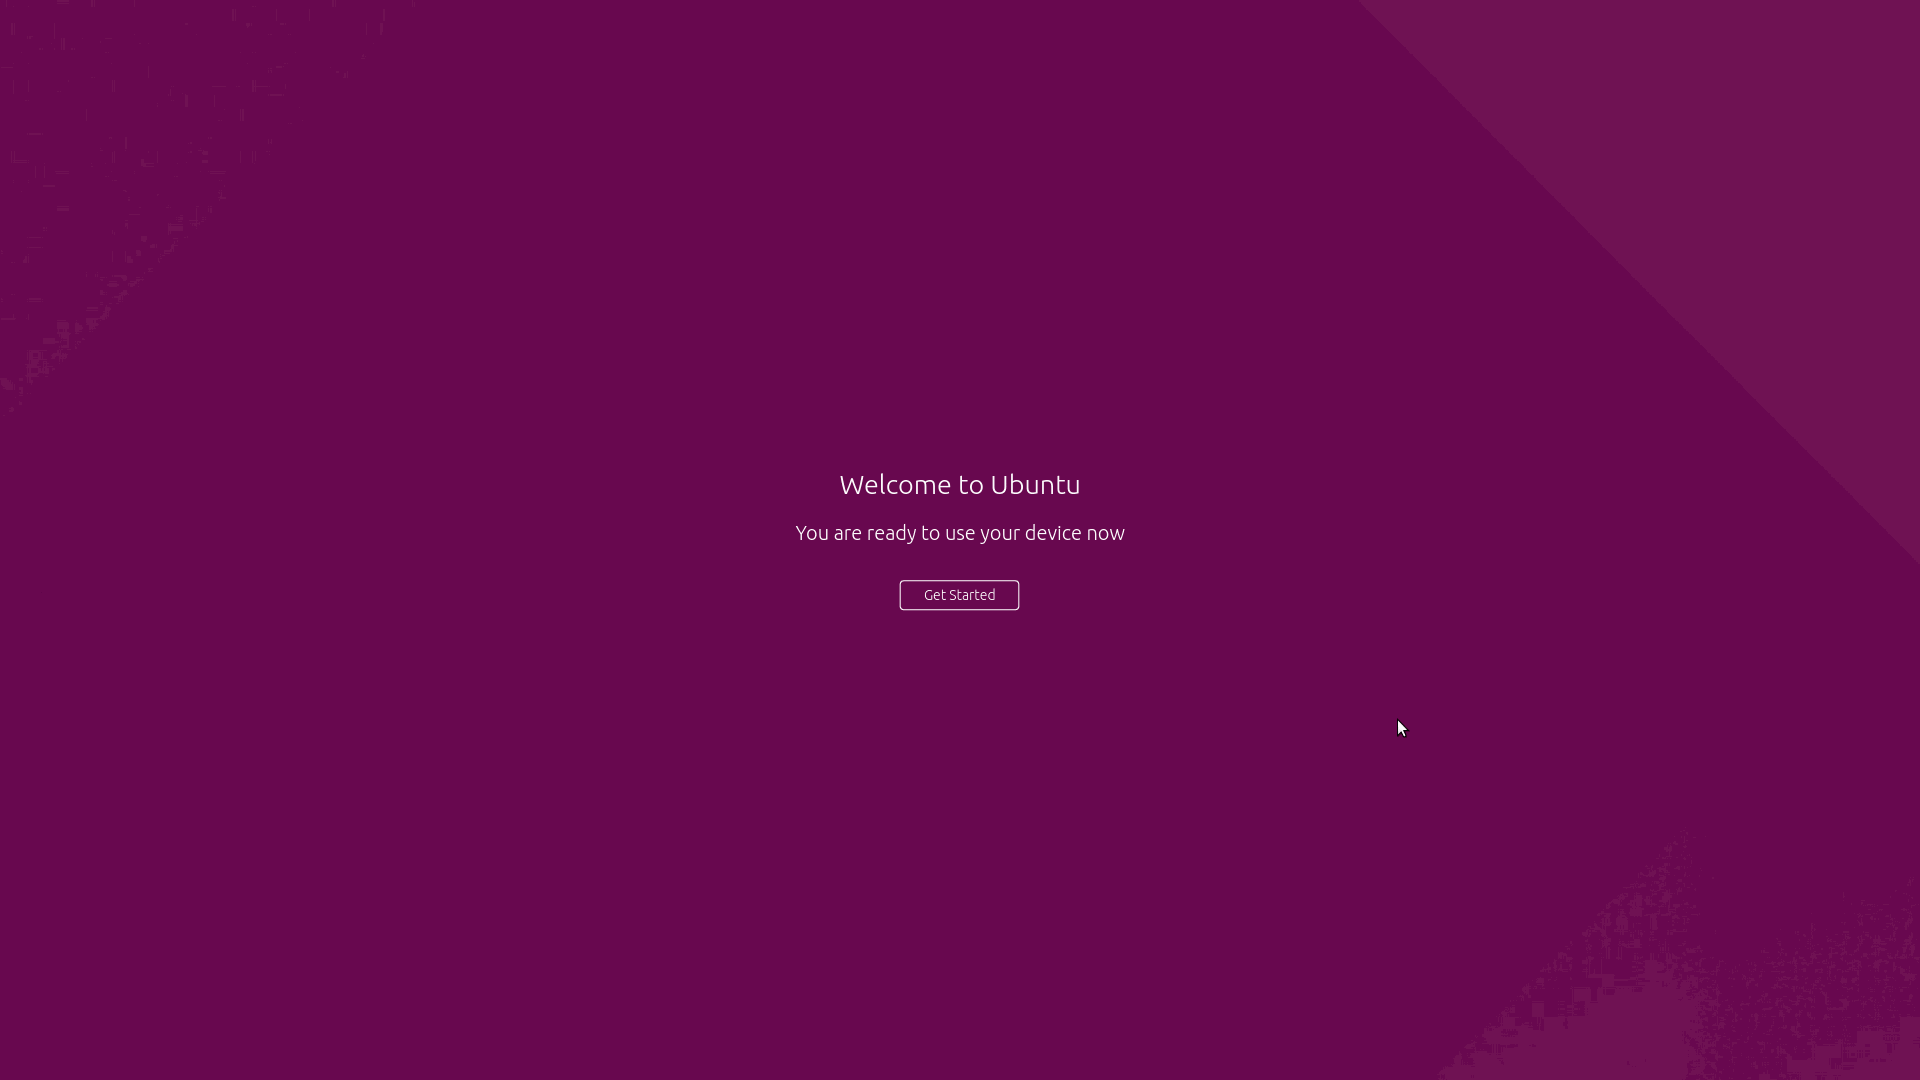
phablet.$ sudo apt-get install dc dphys-swapfile
$ free -m

$ sudo apt-get install zram.config
$ sudo reboot
Pressing TAB then typing
phablet and hitting return is perhaps the quickest way to login.By now you might be getting annoyed at the Pi shutting the screen down regularly. Find the
Battery Settings and change Lock when Idle to 10 minutes or Never. OpenStore is the preferred place to get and update software. Clickable is another option.UT Tweak Tool is vital to give you more choices than standard settings allow. Docviewer lets you access many file formats. Dekko brings you email. Logviewer gives you the information needed to help report issues and work out how to fix them. TELEports lets you easily access Telegram. You can use the Morph Browser to access the UBports forums and Github. As the Pi image is based mostly on Edge channel some apps in the OpenStore have not yet been updated and will fail to launch. Using apt update and apt upgrade may break the system. You can use DD to make backups of your card or just backup your Home directory so you have most of your data safe.
Info on app development can be found in the forums https://forums.ubports.com/topic/3323/arm64-apps-and-testing
I'm not a developer and the UBports core developers only have very limited time to put towards the Pi at present so any community involvement is welcome. If there is anything we can do ourselves that then feeds back into improvements for other users of arm64 devices that strengthens the operating system and if we can help to get it stable enough to be a solid and affordable development platform for UT apps that should help everyone. At present it can be a little frustrating to use but things are improving all the time.
What do you think?
Explore and help to test and develop Ubuntu Touch on Raspberry Pi.
