background_background_header@2x.webp
Secure cloud storage
Setting up Nextcloud on Ubuntu Touch

                                                Why Nextcloud?

                                                As a GNU/Linux-lover concerned about privacy (that is why you're using Ubuntu Touch by UBports, right?) you would probably prefer not to have to use a public cloud service, or even a provider who offers to host Nextcloud for a fee. You would much rather set up a personal, secure cloud of your own, using libre software.

                                                Serendipitously, not only is it possible to have Nextcloud synchronization on Ubuntu Touch, but Ivan Semkin is also here to lead you, step by step, through the process of setting up your own server and linking it to your Ubuntu Touch device.

                                                From Wikipedia, the free encyclopedia:

                                                Nextcloud is a suite of client-server software for creating and using file hosting services. It is functionally similar to Dropbox, although Nextcloud is free and open-source, allowing anyone to install and operate it on a private server.

                                                In contrast to proprietary services like Dropbox, the open architecture allows adding functionality to the server in form of applications and enables users to have full control of their data.


                                                From Nextcloud official home users web-page: 

                                                Your clouds, your rules

                                                Nextcloud puts your data at your fingertips, under your control. Store your documents, calendar, contacts and photos on a server at home, at one of our providers or in a data center you trust.

                                                Let's now follow Ivan Semkin's tutorial:

                                                You're setting up a server, so obviously you're going to need some additional hardware. There are a number of options that you may wish to consider:

                                                1. The Raspberry Pi route: 

                                                It's possible to build a server on a Single Board Computer (a Raspberry Pi 3 is probably the best option) - and [here's a link

                                                2. You could use an old Android phone:

                                                This has the advantage of having a battery UPS for if there is a power cut.

                                                For this option, take a look at our friends at the [Halium project]. You don't really need anything other than hybris-boot.img to run a server, there is no need for an lxc container (it might be required for Wi-Fi, but there is the option of USB Tethering)

                                                A terribly old Android phone won't do; it needs to be supported by either cm-12.1 or lineage-14.1.

                                                Once you make your port functional so that ssh is exposed and you can log in, choose one of the reference roots, either the [official Ubuntu 16.04], or my personal [ArchLinuxArm rootfs], and install Nextcloud on it as you would on a regular desktop.

                                                3. Or use an old computer:

                                                If you're intending to rely on your server, it is **strongly** recommended that you re-purpose an old PC. Nextcloud doesn't use a lot of resources, so anything from the past decade will serve - the minimum specification would be a Pentium D with 512 Mb of RAM.

                                                Be sure to check RAM and HDD integrity before using the machine: run memtest, and check smartctl on that PC - find your drive in lsblk and run a series of smartctl tests on it :

                                                lsblk
                                                sudo smartctl /dev/sdX -H
                                                sudo smartctl --test=short /dev/sdX
                                                sudo smartctl -a /dev/sdX

                                                Memtest should be run separately from a USB flash drive. Take a look at AskUbuntu page for more details.

                                                A guide on installing on Ubuntu Server 16.04


                                                There are two options for installing Nextcloud: You can either download the snap package, which is [the easiest way], or you can do it manually. I prefer the manual way, but if you don't speak computer language then I suggest that you go down the snap route.

                                                Though most guides use Apache as a web-server (including [my own]),  I suggest using Nginx instead. But you can just follow the official guide.

                                                You will need an SSL certificate. You can acquire one for free using LetsEncrypt 

                                                You might be interested in Collabora CODE, though it's not straightforward to configure, and requires using docker containers. Here's a guide on configuring it: [ Collaboraonline]

                                                If you are planning to use your Nextcloud only inside your local subnet, then you are all set up. However If you want to expose your server to the public, you need to forward the ports on your router

                                                Getting your router oriented


                                                By default, your web-server runs on port 80 for http and port 443 for https. You can configure Nginx or Apache to run on different ports if you have several services on the same IP address (though it is better practice to  use a reverse proxy based on domain names). Here's a guide on how to do that with nginx

                                                At the very least, you need to forward 80 and 443 on your router. Here's a guide on how to do that on different routers.

                                                DNS and domains

                                                You should probably consider buying a domain name for your server so that you don't need to remember your IP address to access the sever. You will need to add an "A" DNS record pointing to your IP address. You can find it by running in your terminal:

                                                 curl api.ipify.org

                                                There are a lot of services offering domains. Consult their FAQ to learn more about adding DNS entries.

                                                There is OpenNIC Project that offers free domains within their network. It's nice, but keep in mind that people outside of the network won't be able to access your server.

                                                You could also ask your friend with a lot of domains to set up a sub domain for you. Or you could use one of the services that provide that functionality for you such as [no-ip].

                                                Syncing Nextcloud with UT

                                                Accessing the web GUI via a webapp


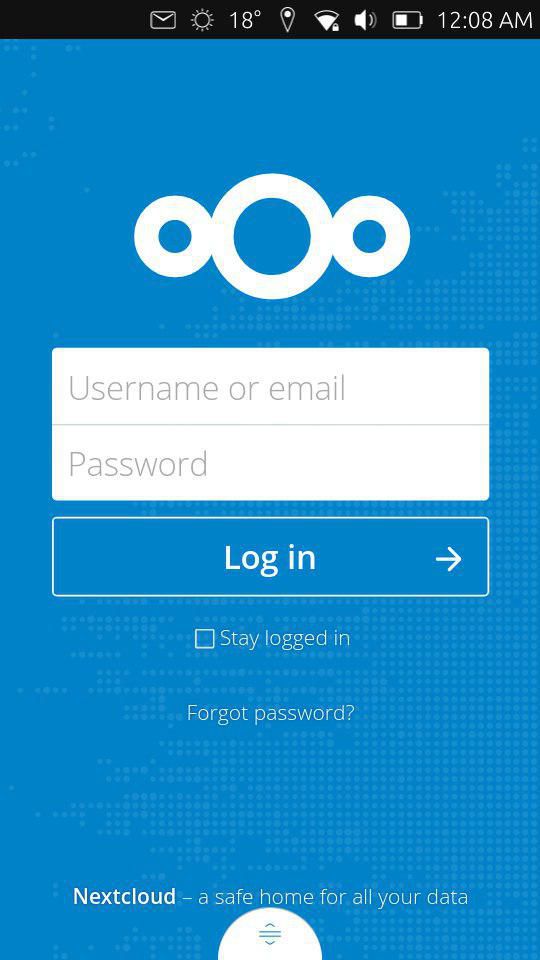
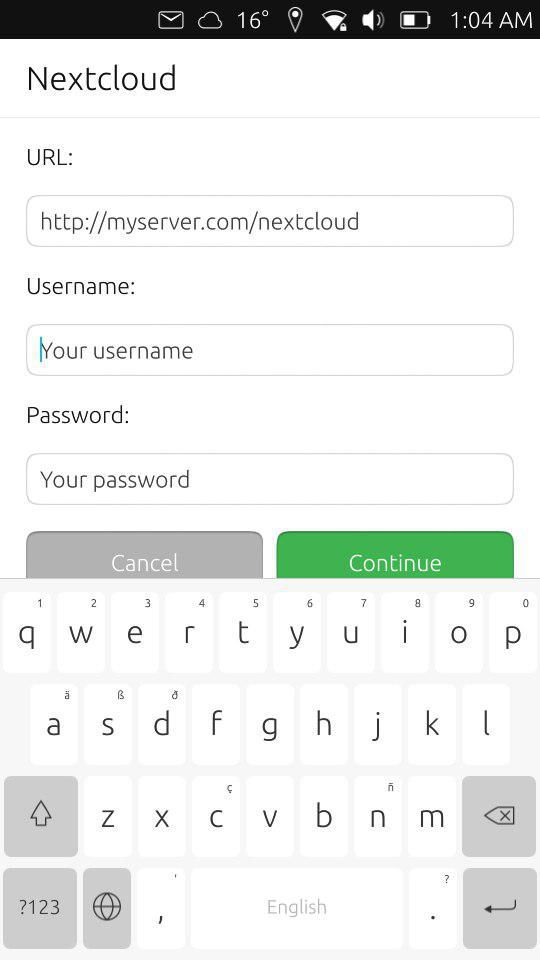
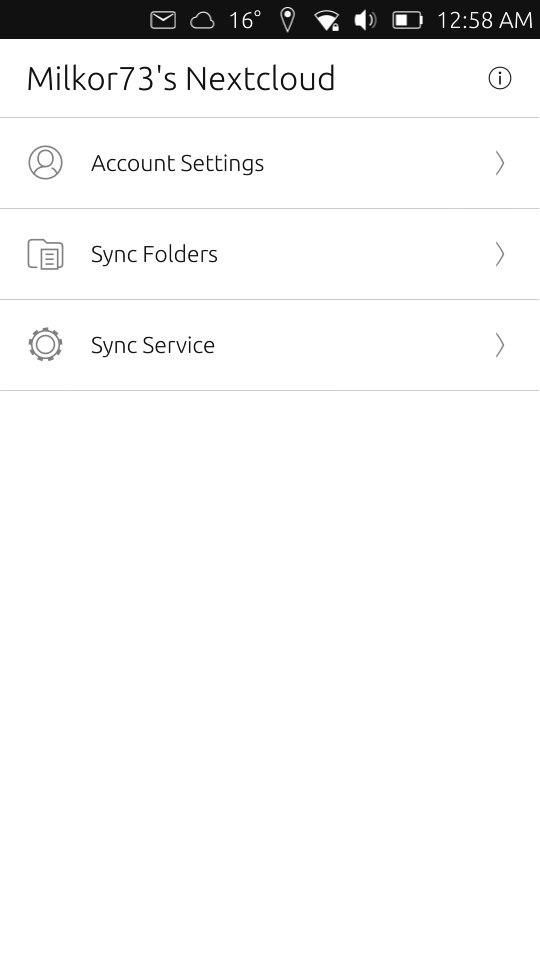
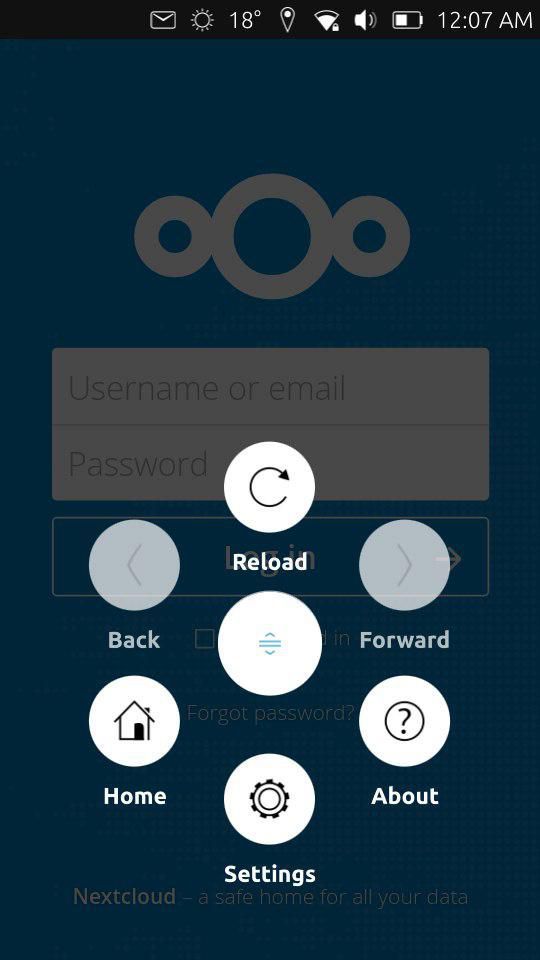
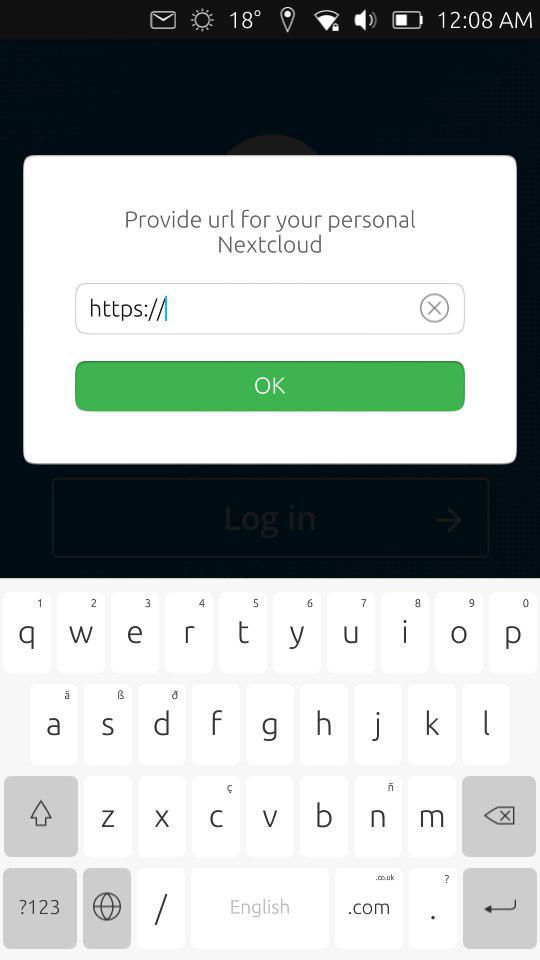
                                                Download the Mateo Salta [Nextcloud] app onto your phone from the [Open Store].  Open it, scroll up from the bottom, press Settings, and enter your server URL.


                                                  Settings
                                                  Odoo - Sample 2 for three columns

                                                  Enter your URL

                                                  Odoo - Sample 3 for three columns

                                                  Log in

                                                  Syncing the contacts and calendars

                                                  Nextcloud exposes your contacts and calendars in CardDAV and CalDAV formats respectively. There is direct support for calendar sync in the calendar app, but you will need to manually set up a cron job in order to sync your contacts. This is a temporary issue: support for carddav should be added later in the contacts app.

                                                  Here's a detailed guide on how to do so in the docs. Beware that the linked gist is a bit broken, you might want to use my fixed fork instead: https://gist.github.com/vanyasem/379095d25ac350676fc70c42efe17c8c

                                                  The docs are a bit vague on the configuration process, and may be a bit confusing. You need to fill CAL_URL with your CalDAV URL (you can find your "Primary CalDAV address" in calendar app on Nextcloud web in the "Settings & Import" section on the bottom of the menu on the left).

                                                  You need to fill CONTACTS_URL with your CardDAV URL (you can find your link by pressing Settings, then opening a menu next to your contact list and clicking "Copy Link" on the bottom of the left menu in Contacts app in Nextcloud web).

                                                  Fill in your Nextcloud username and password into the USERNAME and PASSWORD fields respectively. XXX_NAME and XXX_VISUAL_NAME are just names for your stuff, so it's totally up to you how to name them.

                                                  If you've done everything correctly, you should see your contacts and calendars in the apps soon.

                                                  Syncing the files and images

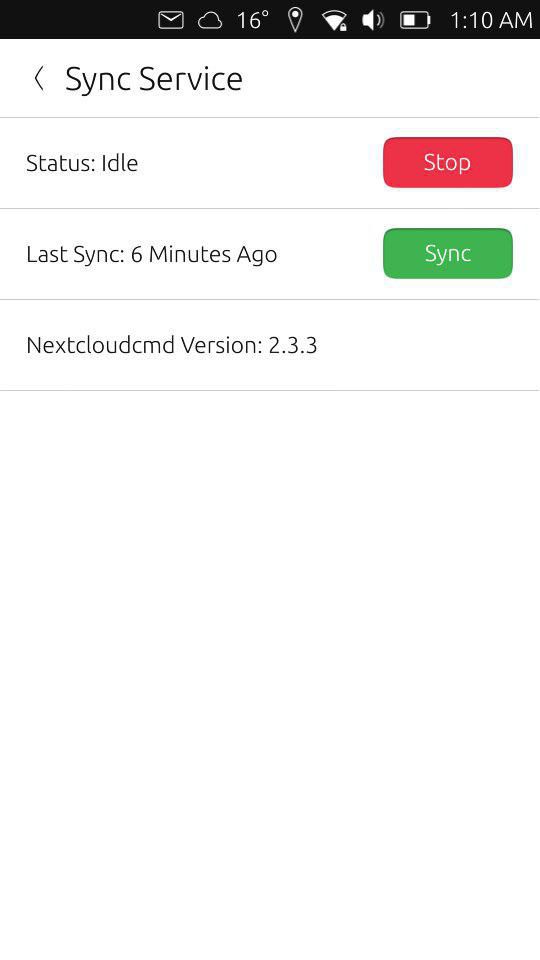
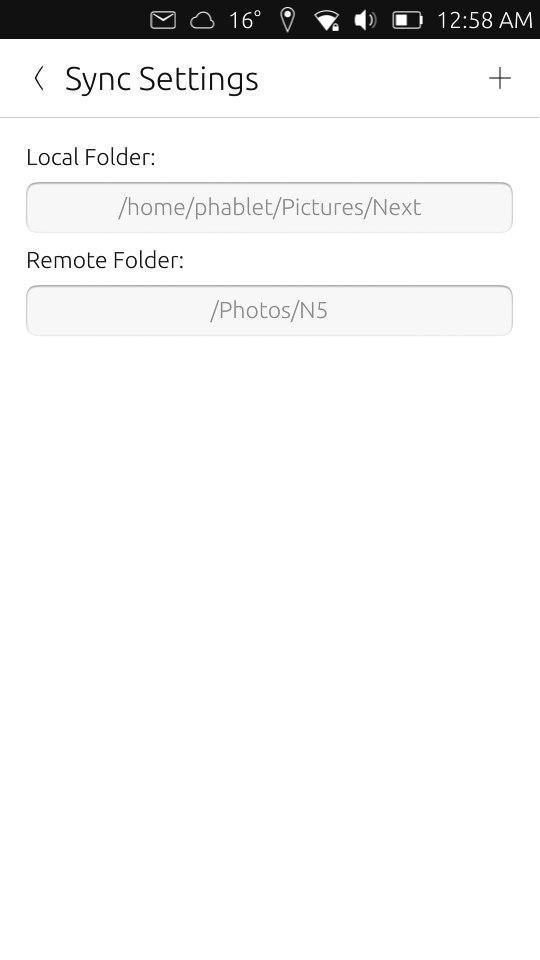
                                                  Download the Erne_st [UBsync] synchronization client for Nextcloud onto your phone from the [Open Store]. This client is available only for Ubuntu Touch 16.04. 

                                                  With this app you can schedule a backup for any Ubuntu Touch users folders to your Nextcloud server.

                                                  In accordance to the author, for your security you might generate an application password from your Nextcloud server due some limitations on the Nextcloudcmd side that cause the login and the password are after saving still visible.  Any help to mitigate this issue is welcomed.

                                                  [1] Top cover image was borrowed from Nextcloud page: https://nextcloud.com/athome/.

                                                  What do you think of this apps?

                                                  Please send your comments and suggestions through the box at the bottom of this blog.

                                                  Explore the full spectrum of Ubuntu Touch Apps at OpenStore - The official Ubuntu Touch app store.
                                                                    background_background_header@2x.webp
                                                                    #DeleteArt13
                                                                    Article 13, Copyright Reform, & UBports